Supabase
This guide demonstrates how to setup a free PostgreSQL database using Supabase.
Setup Database
To get started with Supabase, follow these steps to register for a free account and obtain your connection string.
Sign Up
- Visit the Supabase website.
- Click on the "Start your project" button.
- Sign up using your email address, GitHub, or any other available method.
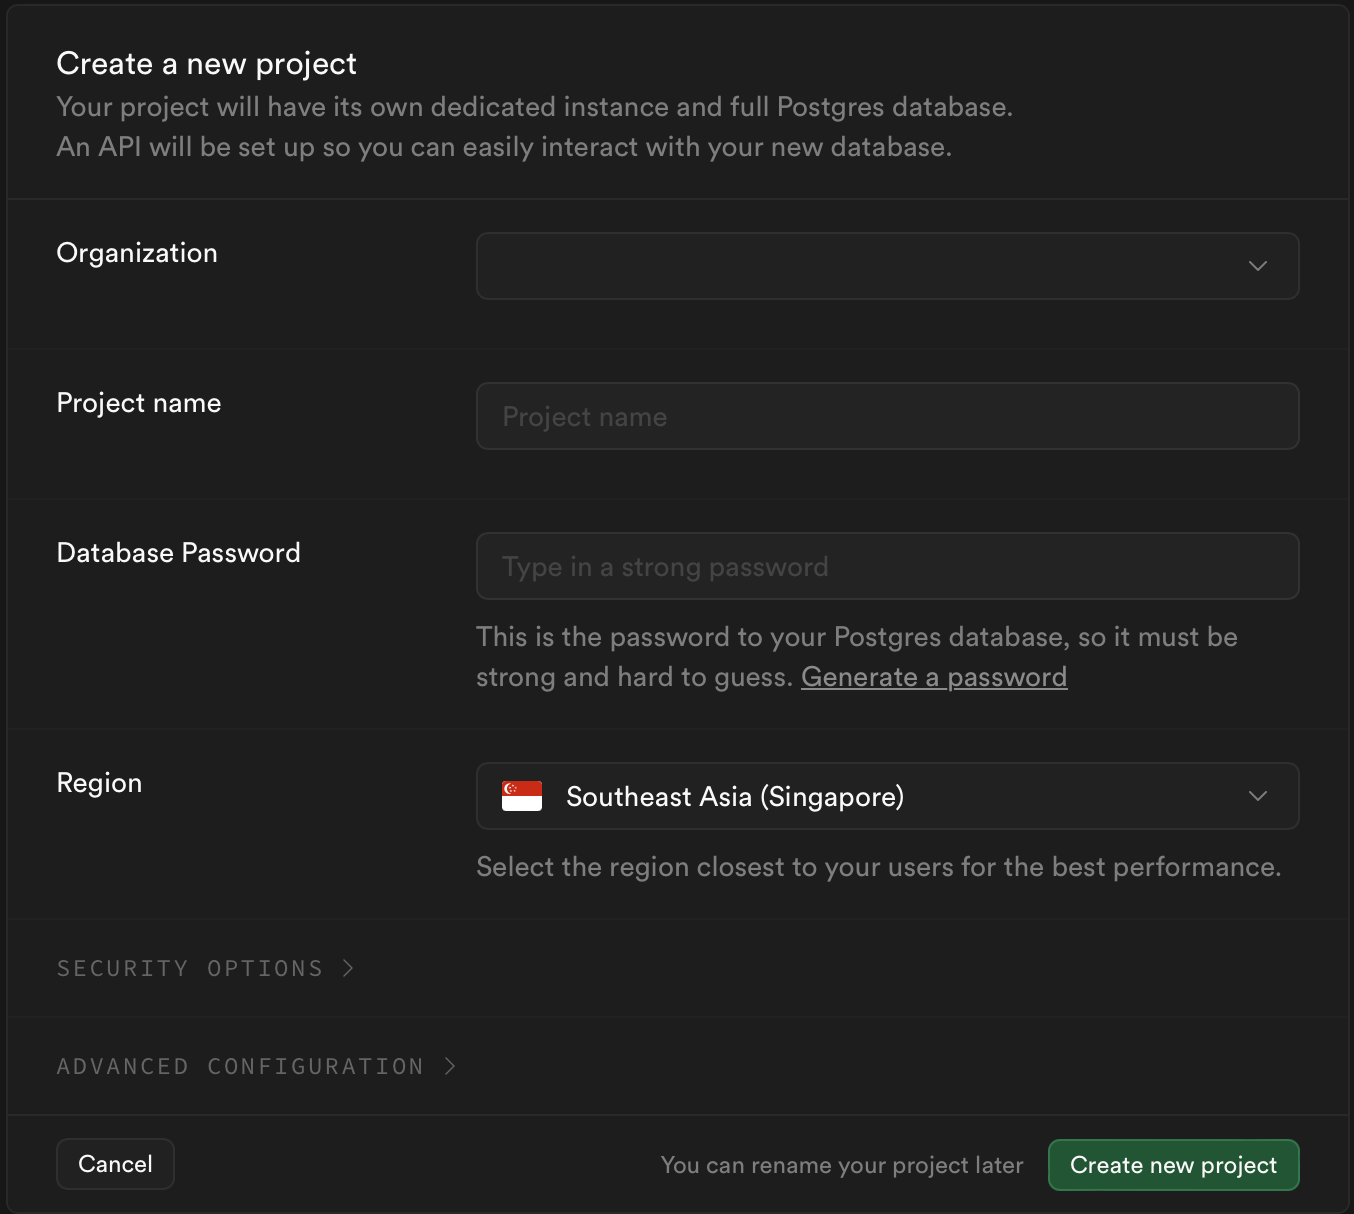
Create a New Project
- After signing in, click on the "New Project" button.
- Fill in the required details:
- Project Name: Choose a name for your project.
- Organization: Select or create an organization.
- Database Password: Set a strong password for your database.
- Click on the "Create new project" button.
Configure Database
- Wait for the project to be initialized. This may take a few minutes.
- Once the project is ready, you will be redirected to the project dashboard.
Get the Connection String
A connection string is a string that your application uses to connect to a database. It contains information such as the database type, host, port, username, password, and database name. In the context of Prisma, the connection string is used to connect your Prisma Client to your database.
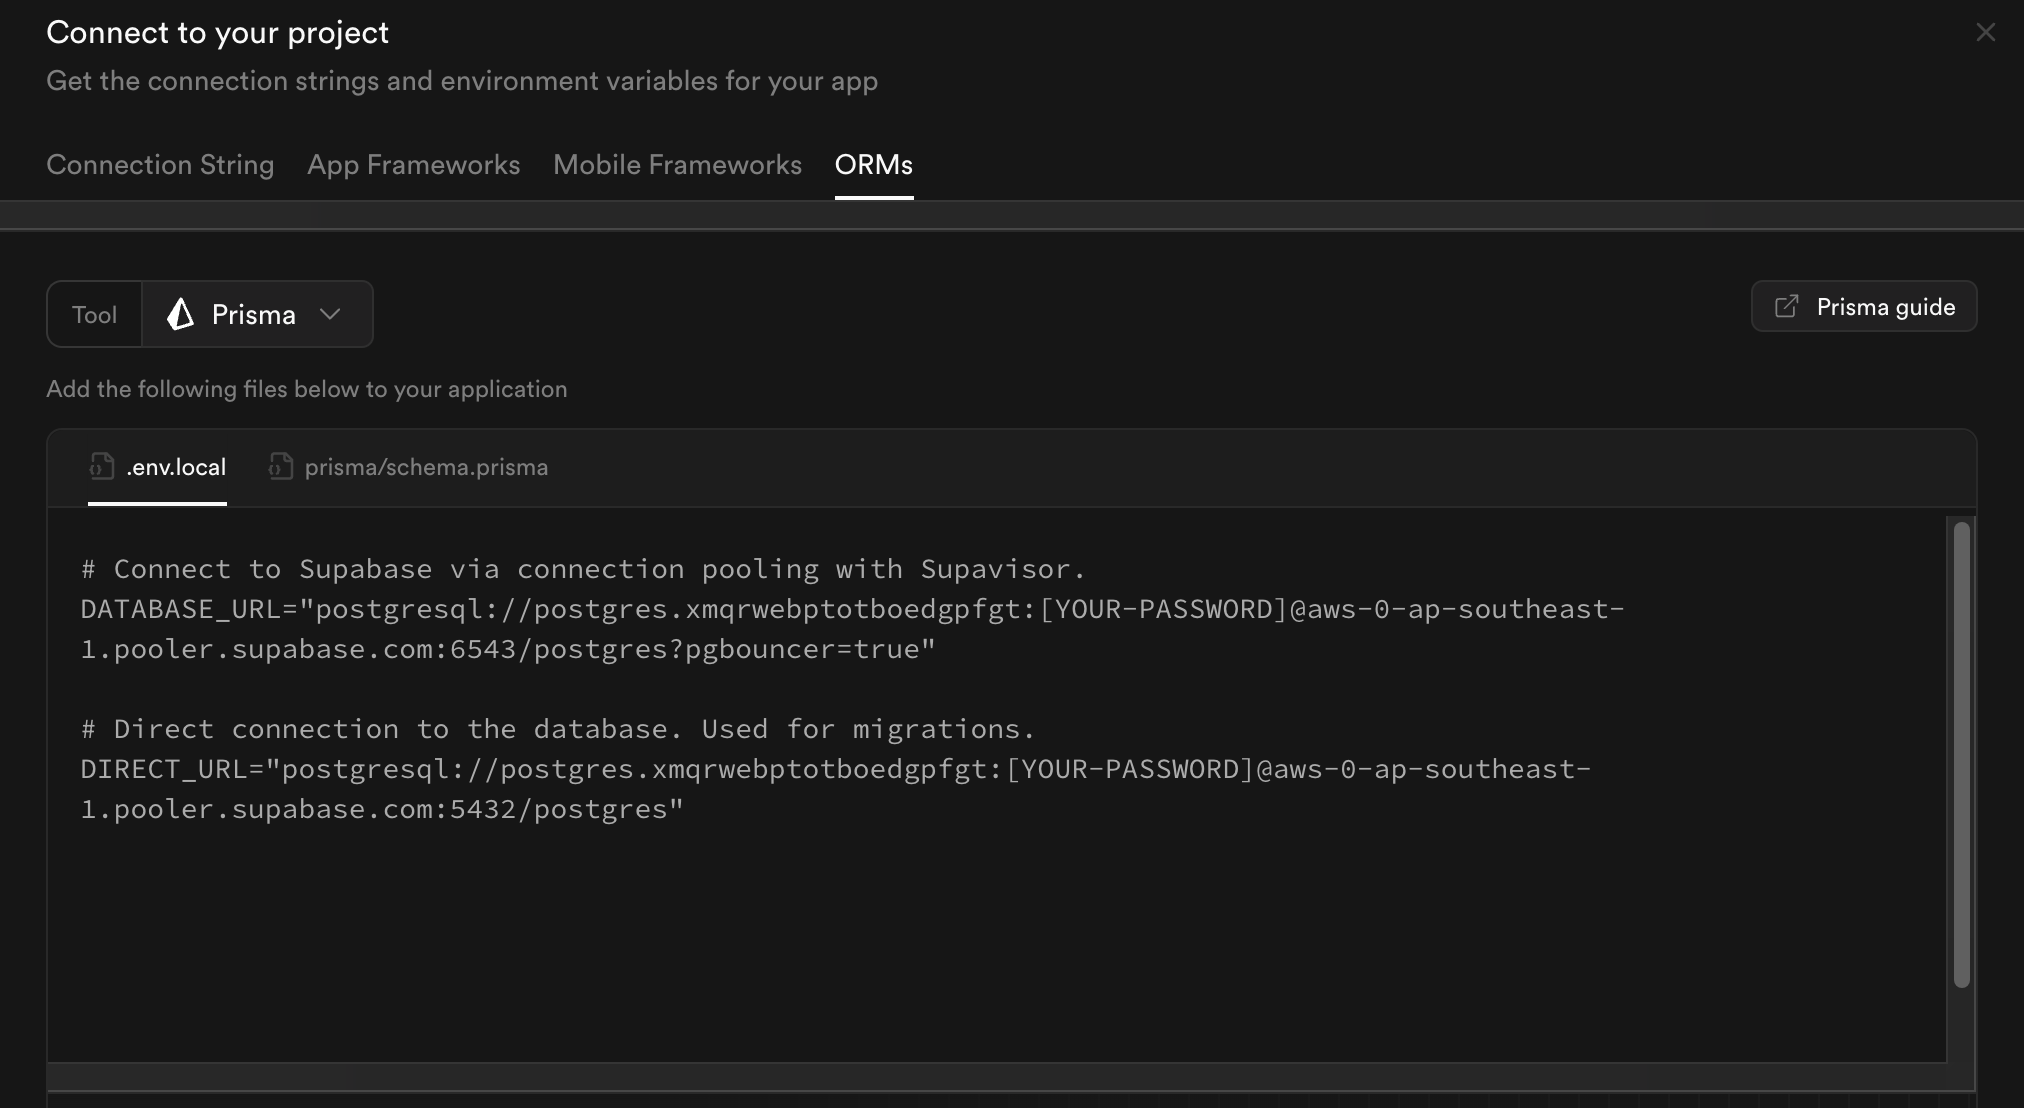
- In the project dashboard, click "Connect" button at top.
- Click on "ORMs" tab.
- You will find your database connection string. It will look something like this:
postgres://username:password@db.supabase.co:5432/dbname - Replace
[YOUR-PASSWORD]placeholder with your Supabase database password.
Here's a breakdown of the Supabase connection string:
- postgres: Indicates the database type.
- username: Your database username.
- password: Your database password.
- db.supabase.co: The host address of your Supabase database.
- 5432: The default port for PostgreSQL databases.
- dbname: The name of your database.
Set Up Environment Variables
- Copy the connection string.
- Open your project's
.envfile. - Add the following line to set the connection string as an environment variable:
DATABASE_URL=postgres://username:password@db.supabase.co:5432/dbname
Deploy Your Model to the Database
After setting up your Prisma project and obtaining your connection string, the next step is to deploy your Prisma schema to your database. This will create the necessary tables and relationships based on your schema.
- Open your terminal.
- Navigate to your project directory.
- Run the following command to deploy your schema:
This command will read your
npx prisma db pushprisma/schema.prismafile and apply the changes to your database.
Generate Prisma Client
Once your schema is deployed, you need to generate the Prisma Client. The Prisma Client is an auto-generated and type-safe query builder that you will use to interact with your database.
- In your terminal, run the following command:
This command will generate the Prisma Client based on your schema and save it in the
npx prisma generatenode_modules/@prisma/clientdirectory.